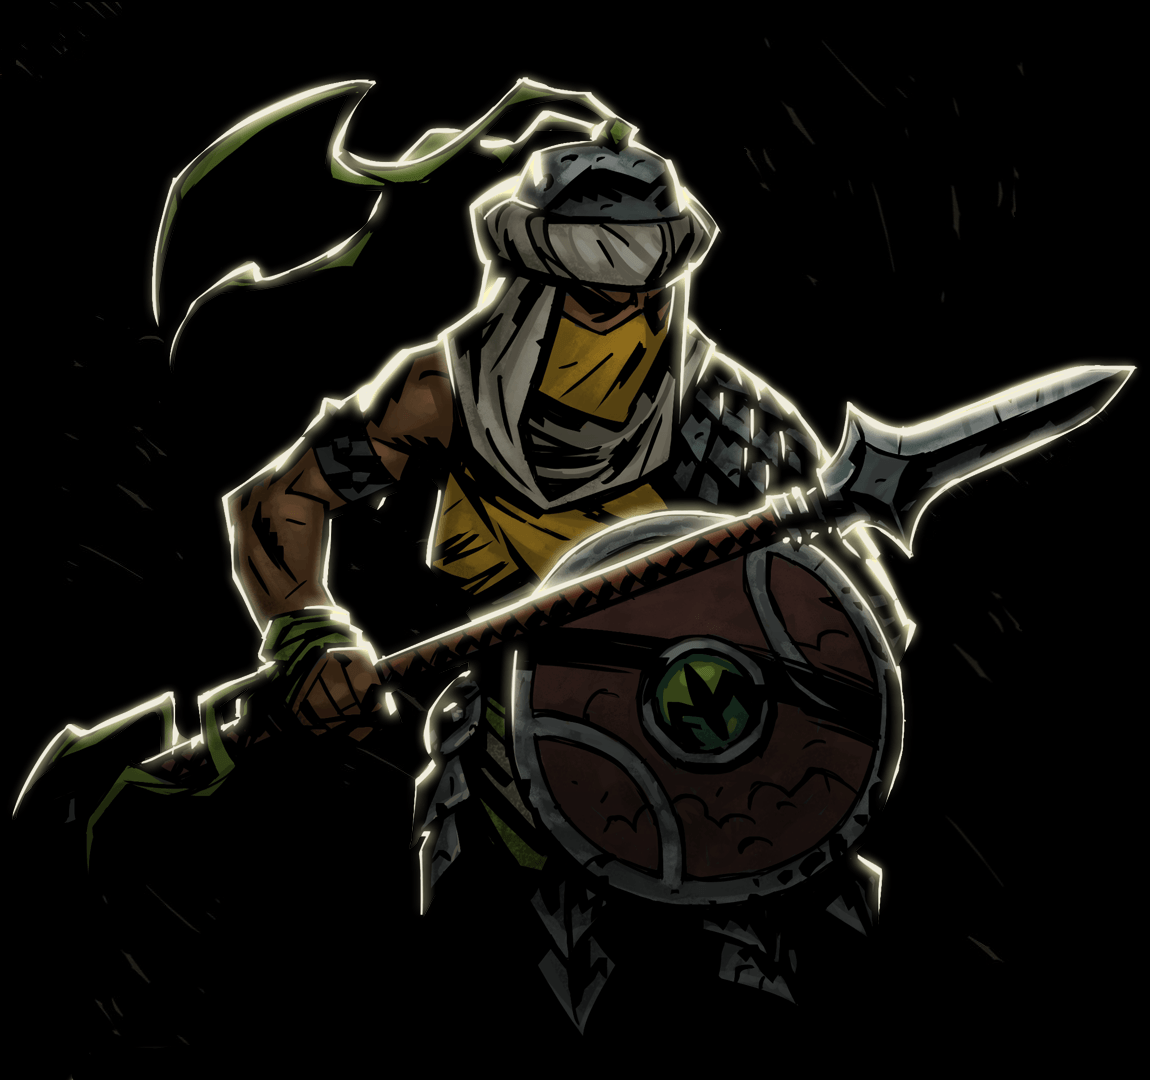
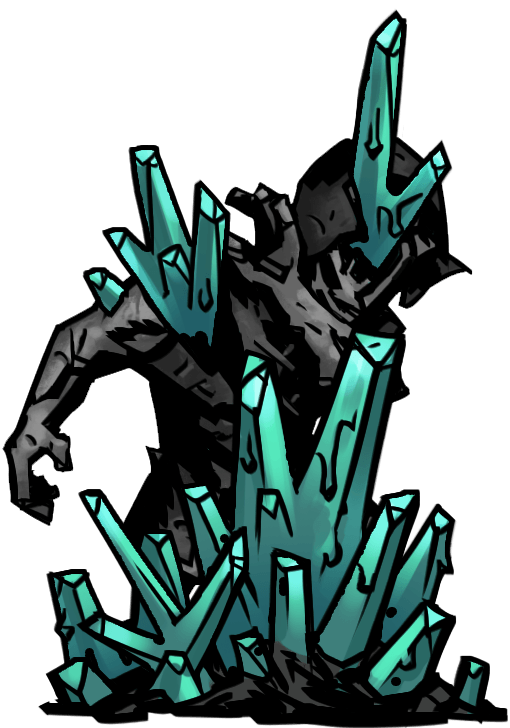
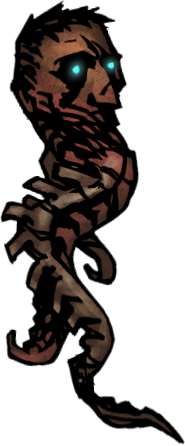
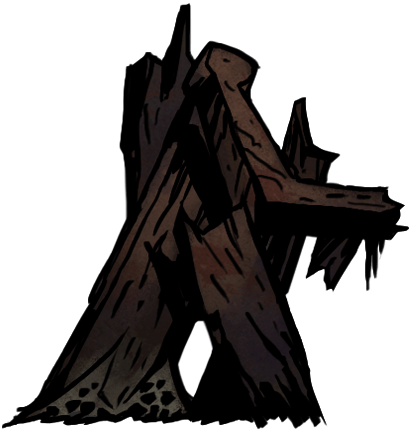
Endless Harvest
Waves without end. A scoreboard instead of a finish line.
The Farmstead doesnt end. Waves escalate, lighting holds to a different rule set, and the normal stress-death cycle is replaced by Madness — heroes who break here dont die immediately, they change. Score runs reward sustain comps that can loop heals and bleed-proof trinkets. Stop when the roster stops recovering, not when the game tells you to.
Where it runs
Heroes who shine here
Overview
A Farmstead expedition consists of waves (combat encounters) with rooms in between. Combat in the Farmstead has certain unique mechanics; notably, new enemies will constantly respawn to replace dead enemies until about ten enemies have been killed, at which point the wave will end and the party will be teleported to the next room. Each room contains a curio which may heal the party, or reward Comet Shards or other loot.
A wave consists of enemies from the same location. The first wave will always be Husk enemies from the Farmstead, but later waves may contain enemies from the four main dungeons (Ruins, Weald, Cove, Warrens) as well as the Darkest Dungeon.
Waves are organised into wave groups. Most wave groups consist of two to three waves followed by a boss encounter. At the top right of the screen, a meter shows the current wave, wave group, and number of enemies killed.
There are three expeditions to the Farmstead. The first two, at Apprentice- and Veteran-level, are a tutorial to the Farmstead's mechanics:
- The Apprentice expedition consists of a single wave with no boss encounter. This wave is longer than usual, ending after twenty kills instead of ten.
- The Veteran expedition consists of a single wave group, ending with a boss battle against The Miller.
Completing the first two expeditions will unlock the Champion-level Endless Harvest, a repeatable expedition in which the party fights endless waves of enemies until they are defeated or flee. The Endless Harvest starts with the following wave groups:
- The first wave group has no boss.
- The second wave group ends with a boss battle against The Miller.
- The third group ends with a boss battle against Fracture / The Sleeper.
- Subsequent groups will end with an encounter with a random boss, chosen from the section below.
No Firewood will be given for any Farmstead expedition. However, the party may camp at the Miller's Hearth curio when it appears.
Many normal mechanics do not exist in the Farmstead, including:
- Scouting
- Corridors (and Traps,
 Hunger,
  Obstacles, etc...)
 - Stalling
- Night-Time Ambush or Exclusive to The Shieldbreaker DLC Shieldbreaker Nightmares
- Content from Exclusive to The Crimson Court DLC The Crimson Court DLC will almost never appear:
- The Blood drops extremely rarely in the Farmstead, so it is not advised to bring cursed heroes on long expeditions.
- Strangely, the Crocodilian may appear as a boss even if Exclusive to The Crimson Court DLC The Crimson Court DLC is not installed.
Combat
Combat in the Farmstead differs from other areas. One major difference is the reinforcement mechanic: killing an enemy will cause enemies to spawn at the end of the next round, filling all available spaces. This only occurs during normal waves; there are no reinforcements in boss encounters.
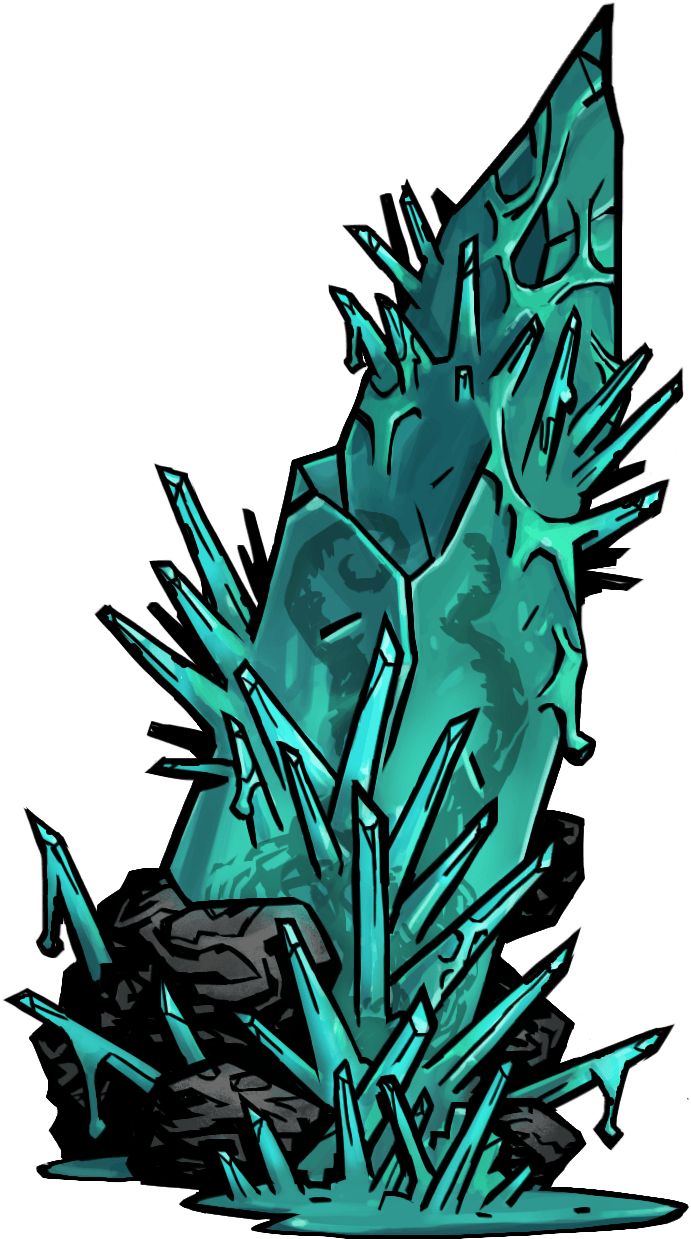
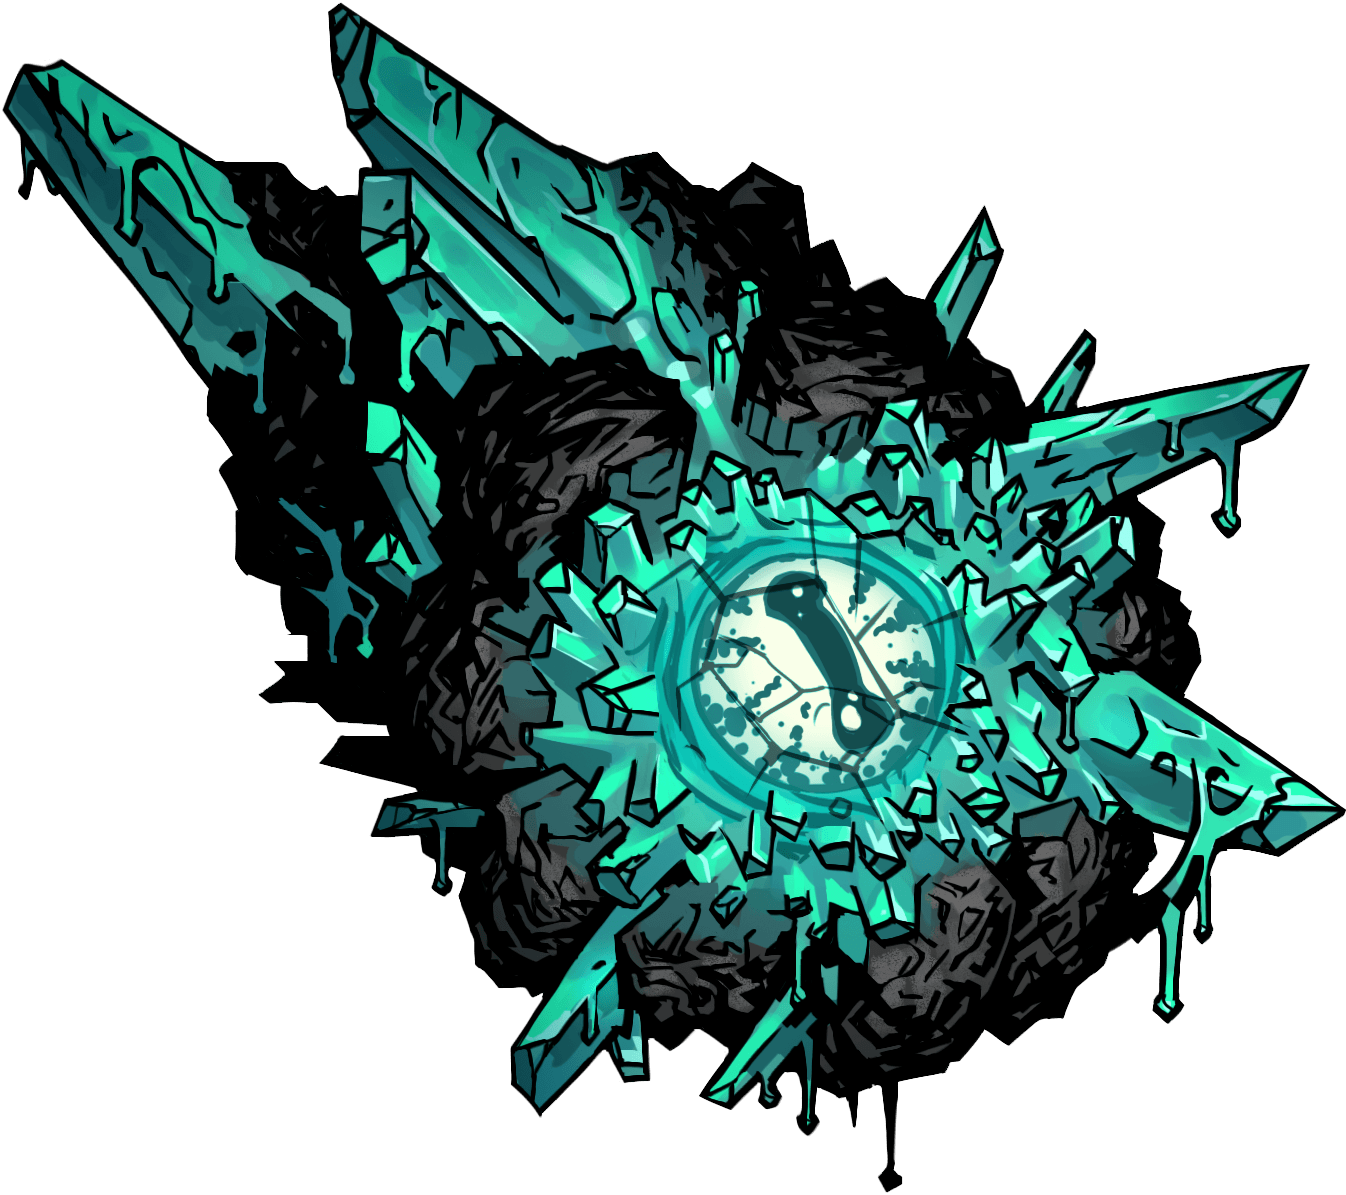
At the end of a round, every enemy corpse will become a Crystalline Aberration. On its turn, the Crystalline Aberration will explode, dealing heavy damage and stress, so it is a high priority to destroy it.
Once ten enemies are killed (not including Crystalline Aberrations), at the end of the round a Sleeper's Dream will spawn, which will teleport the party to the next room, ending the wave. If more than ten enemies are killed, that number will be removed from the next wave's required kills. For example, killing twelve enemies will cause the next wave to end after eight kills.
A skill with a per-battle use limit will only refresh at the end of a wave group, so the party cannot use, for example, Bolster, every single wave. The only exception is the Abomination's Transform, which refreshes after every wave.
The Light Meter is replaced by various lighting effects.
Unlike in other areas, there is no penalty for fleeing combat.
Hero Death
In the Endless Harvest, death is temporary: if a hero suffers a deathblow, they will not die permanently but will instead become "Lost in Time and Space" and will reappear in the Hamlet after a week or two. This is functionally identical to how heroes can go missing after certain Stress Relief activities.
Note, importantly, that heroes can die in the first two (Apprentice- and Veteran-level) Farmstead missions.
Losing all heroes due to a party wipe will cause all trinkets and inventory items to be lost as well. Trinkets may be recovered from the Shrieker, but inventory items are lost forever.
A hero who "dies" will lose their Prismatic Quirks, which will be added back to the Thing from the Stars' quirk pool.
Lighting Effects
In the Farmstead, the Light Meter does not exist and is replaced with one of the following Lighting Effects:
| Lighting Effects | ||
|---|---|---|
| Name | Hero Effects | Monster Effects |
| None | |
|
| |
|
| |
|
| |
|
| |
When fighting against a wave of enemies from the Farmstead, the effect will always be Farmstead Miasma. Otherwise the effect will be randomly selected at the beginning of a wave.
For the purposes of trinkets and quirks, the Light Meter is considered to be 100. Additionally, the Exclusive to The Crimson Court DLCCartographer's Camp has no effect in the Farmstead.
Reflections
Each Endless Harvest expedition also has an Endgame Condition, also known as a Reflection, which will activate after 200 kills and will increase combat difficulty:
| Reflections | ||
|---|---|---|
| Name | Hero Effects | Monster Effects |
| Unbearable Reflection |
|
|
| Reflection of Decay |
|
|
| Sanguine Reflection |
|
|
| Reflection Obscura |
|
|
The particular Reflection is determined at the beginning of an expedition. Reflections stack with lighting effects, potentially greatly increasing difficulty (+7 SPD or + 12.5% CRIT for monsters, for example).
End-of-Round Mechanics
Farmstead end-of-round mechanics occur in the following order: Sleeper's Dream, then reinforcements, then Crystalline Aberrations.
- First, the kill count is considered: if a Sleeper's Dream spawns, the wave will end and the following steps will be skipped.
- If reinforcements spawn, then they will fill all available spaces, removing any Corpses and preventing Crystalline Aberrations from spawning.
- Reinforcements will not spawn on two consecutive rounds. For example, killing an enemy on round 4 will cause reinforcements to spawn at the end of round 5, and also prevent reinforcements on round 6 even if an enemy is killed on round 5.
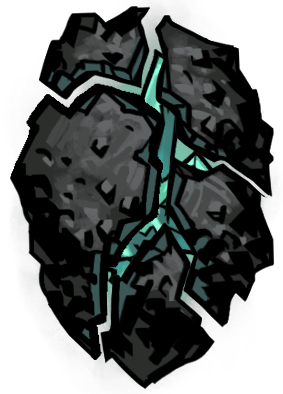
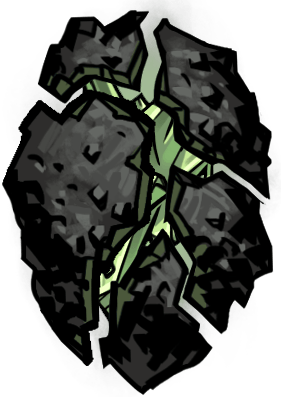
- Lastly, if none of the above apply, then a unique battle effect, Seeds of Madness, will replace all enemy corpses with Crystalline Aberrations. Size 2 corpses will be replaced with two aberrations.
Note that the Bone Bearer's Unholy Rally and the Hateful Virago's From Death Comes Life occur before any of the Farmstead's end-of-round mechanics, potentially preventing some reinforcements or Crystalline Aberrations from spawning.
List of Farmstead Enemies
| Enemies found within the Farmstead | |||||||
|---|---|---|---|---|---|---|---|
| Enemy | HP | DODGE | PROT | SPD | Type | Resistances | Abilities |
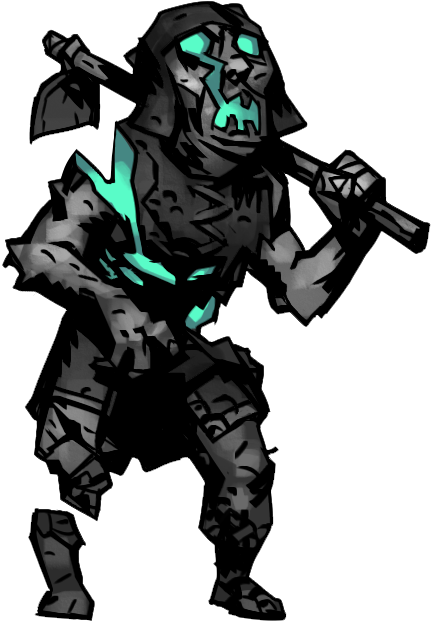 Farmhand | 12 | 8 | 0% | 2 | Husk Human |
| Ceaseless Labor |
 Foreman | 26 | 0 | 15% | 3 | Husk Human |
| Stir the Rabble |
 Scarecrow | 12 | 15 | 0% | 6 | Husk |
| Haunting Revelation |
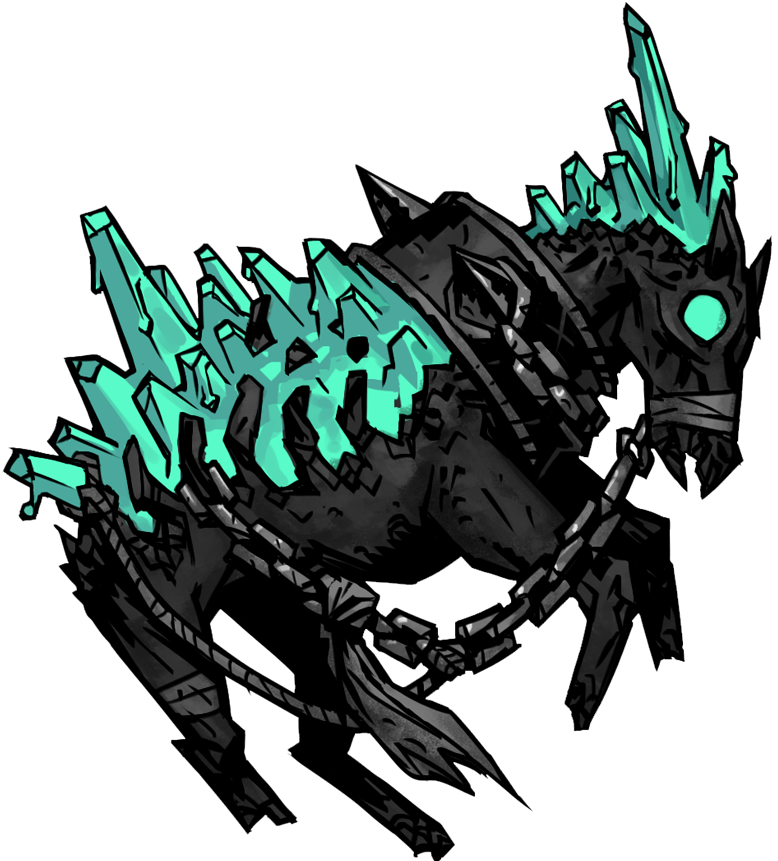 Plow Horse | 20 | 5 | 15% | 7 | Husk Beast |
| Trample |
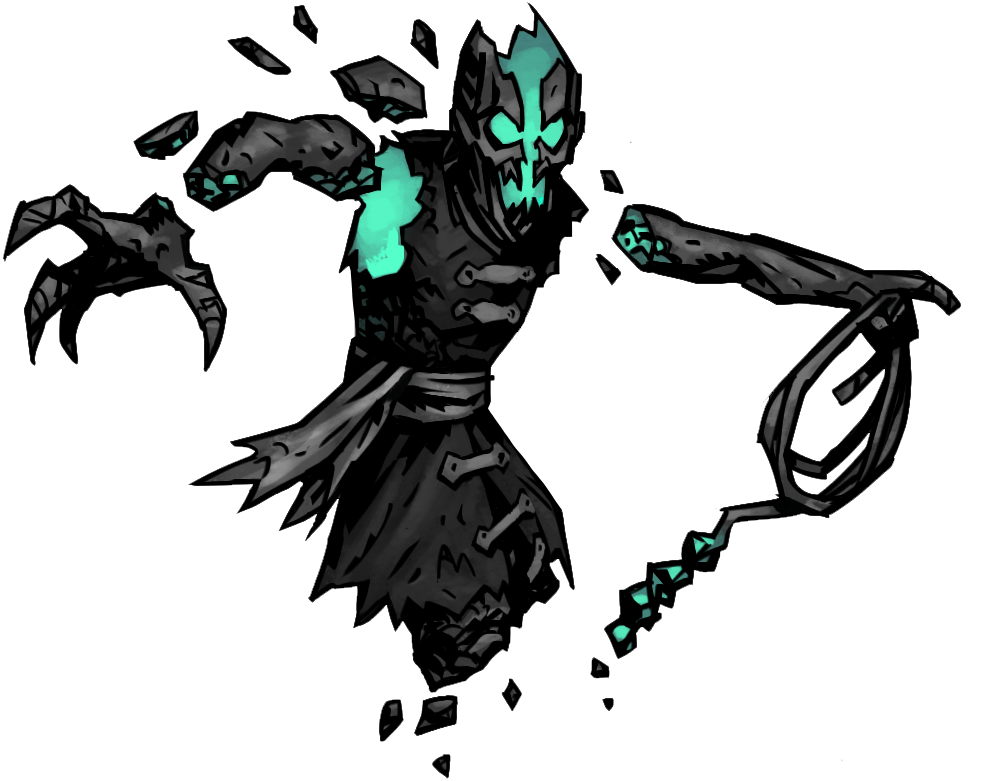
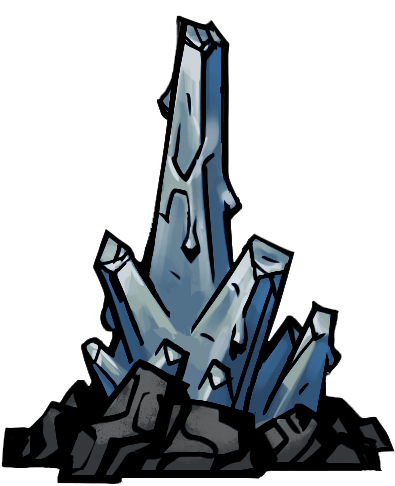
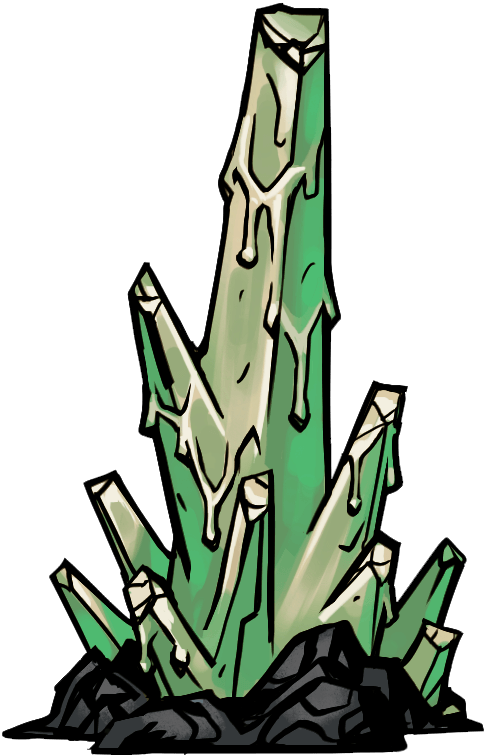
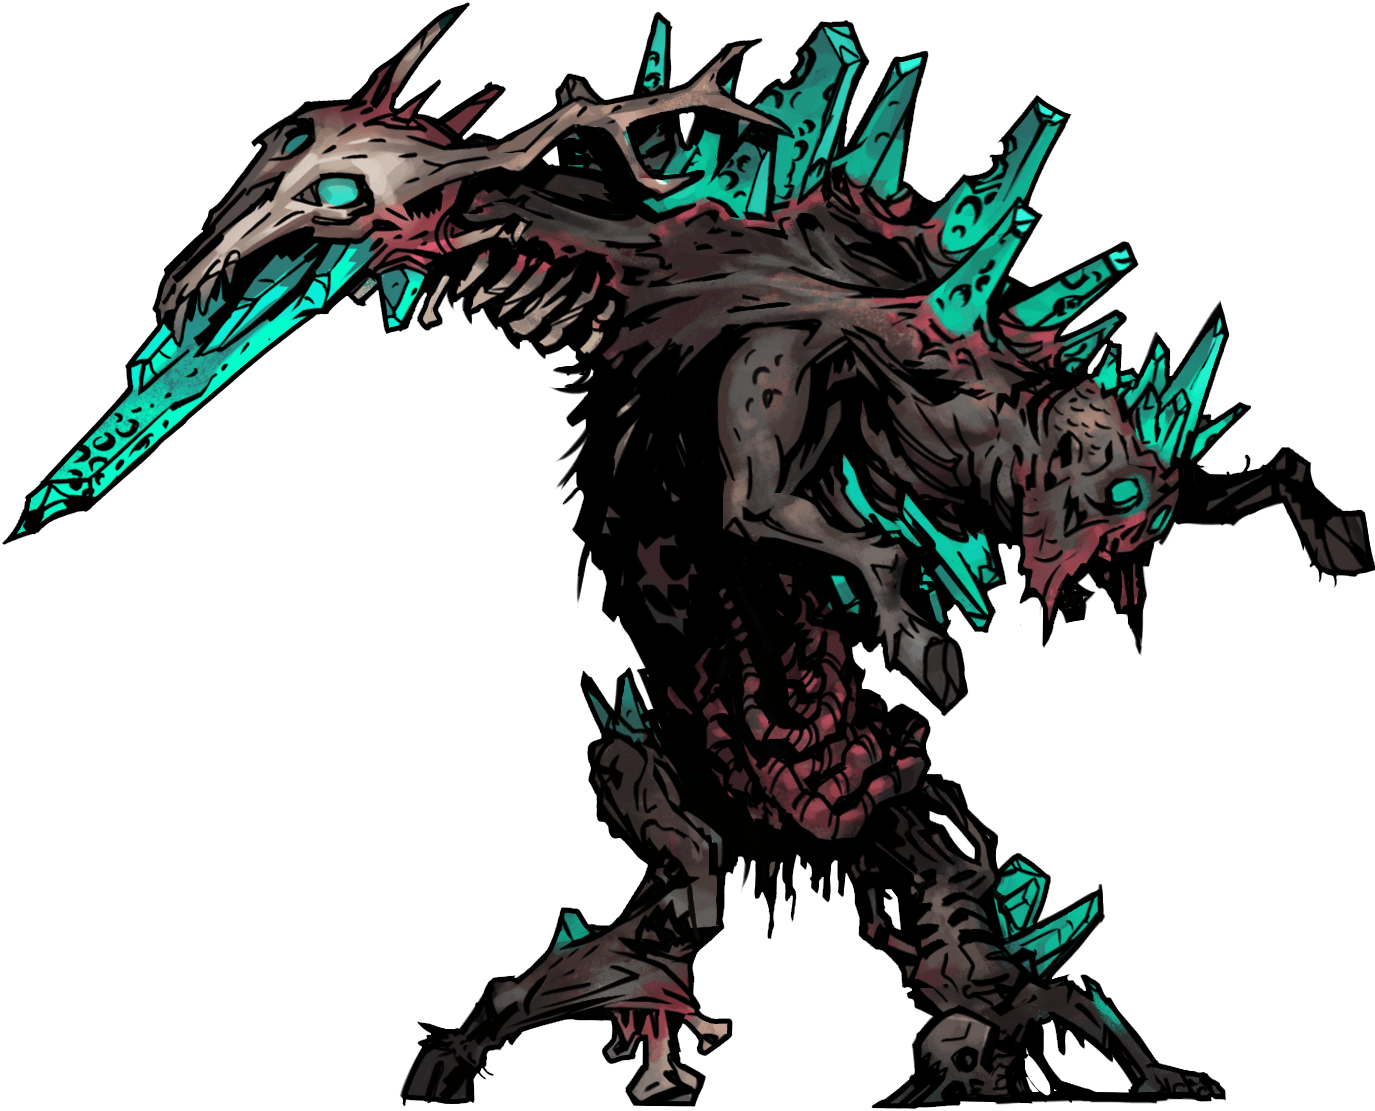
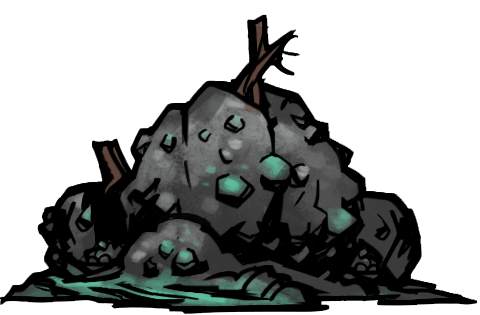
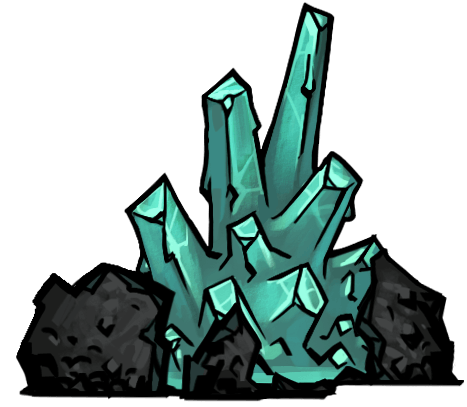 Crystalline Aberration | 5 | 0 | 0% | -4 | Husk |
| Unstable Resonance |
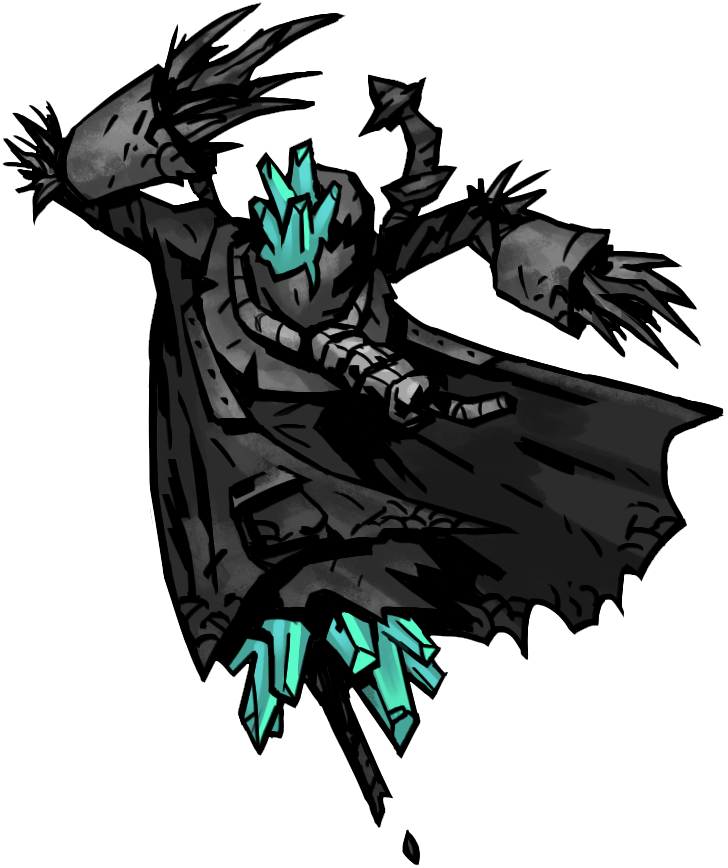
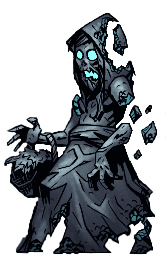
 Sleeper's Herald | 11 | 20 | 45% | 3 | Husk |
| Reality Bend |
 Sleeper's Dream | Husk |
| Beyond Space and Time | ||||
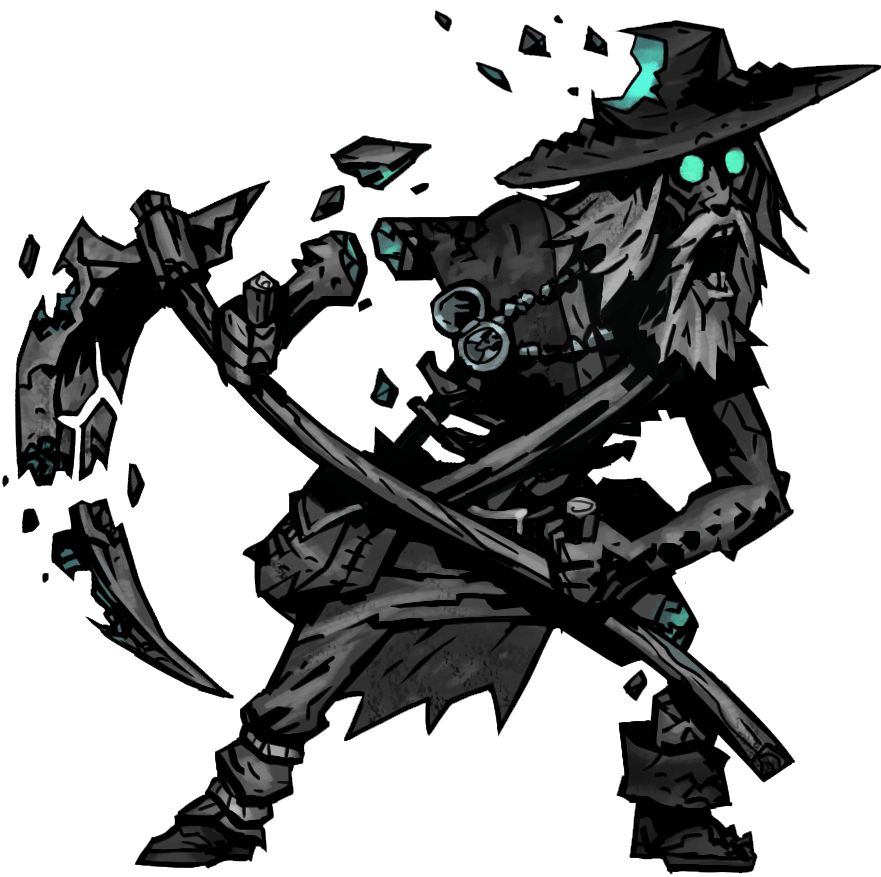 Miller | 181 | 6 | 20% | 6 | Poor Soul |
|
|
 Frozen Farmhand | 35 | 0 | 35% | 3 | Husk Human |
| Hollow Keening |
 Fracture | 115 | 20 | 0% | 6 | Husk |
|
|
 Focus Point | Husk |
| None | ||||
     Unfinished Aberration | Husk |
| None | ||||
     Finished Aberration | Husk |
| Eternal Blossom: | ||||
 The Sleeper | Husk |
| The Sleeper Awakens | ||||
Bosses
| "...it must be at least 10,000 years old, or maybe not? Who can say?" ~ Antiquarian This article or section contains information that may be out of date.
|
| Random Bosses Pool | |||||||
|---|---|---|---|---|---|---|---|
| Enemy | HP | DODGE | PROT | SPD | Type | Resistances | Abilities |
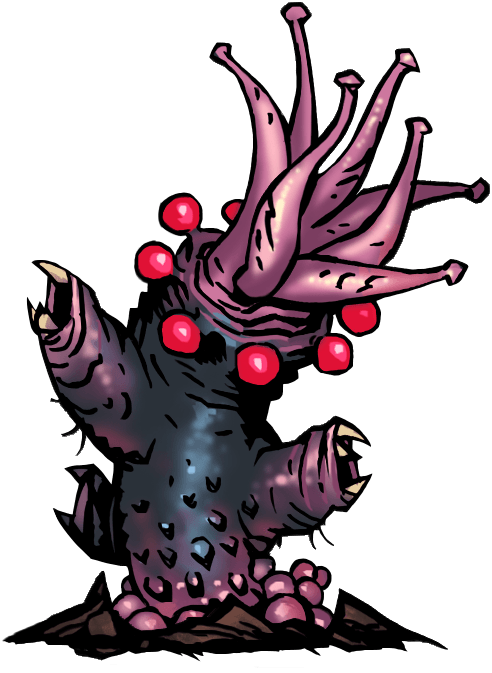
 Thing From The Stars | 106 | 5 | 0% | 2 | Eldritch |
| Phase Gnaw |
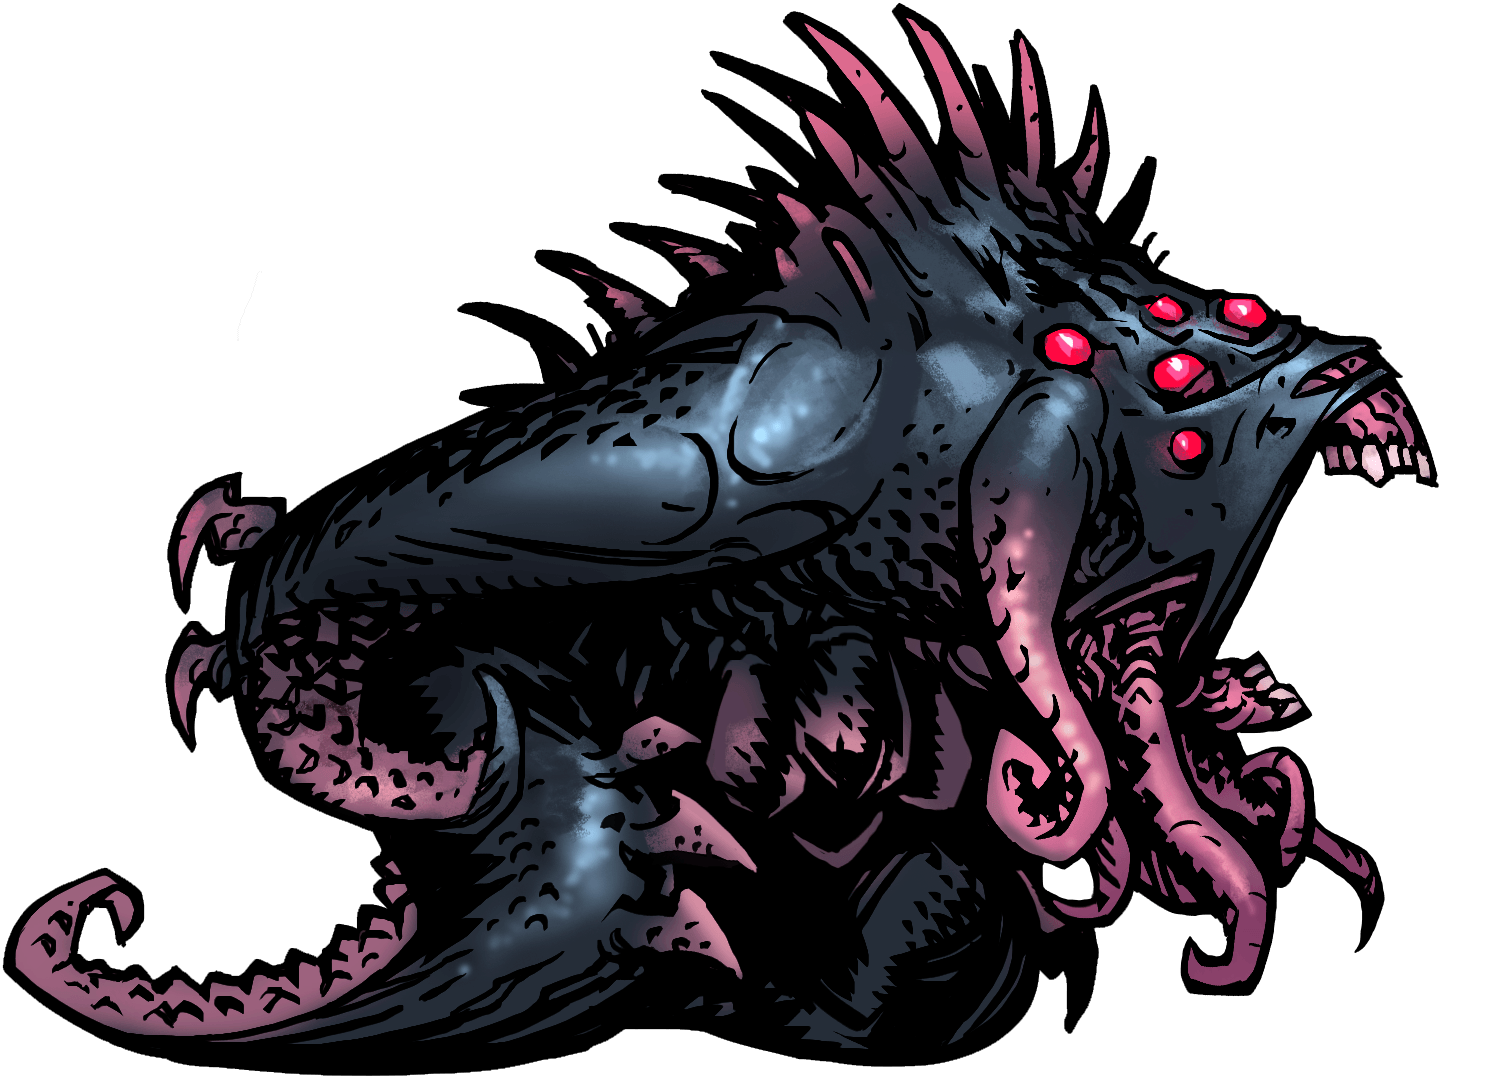 Shambler | 77 | 0% | 33% | 0 | Eldritch |
| Obdurous Advancement |
 Shambler Tentacle | 8 | 17.5% | 0% | 10 | Eldritch |
| Clapperclaw |
 The Collector | 70 | 0% | 0% | 5 | Human Eldritch |
| Show Collection |
 Collected Highwayman | 16 | 7.5% | 0% | 3 | Eldritch |
| Headhunt |
 Collected Man-at-Arms | 16 | 7.5% | 0% | 7 | Eldritch |
| Head Games |
 Collected Vestal | 16 | 7.5% | 0% | 5 | Eldritch |
| Headstrong |
Prophet | 105 | 5% | 0% | 0 | Unholy |
| Calamitous Prognostication |
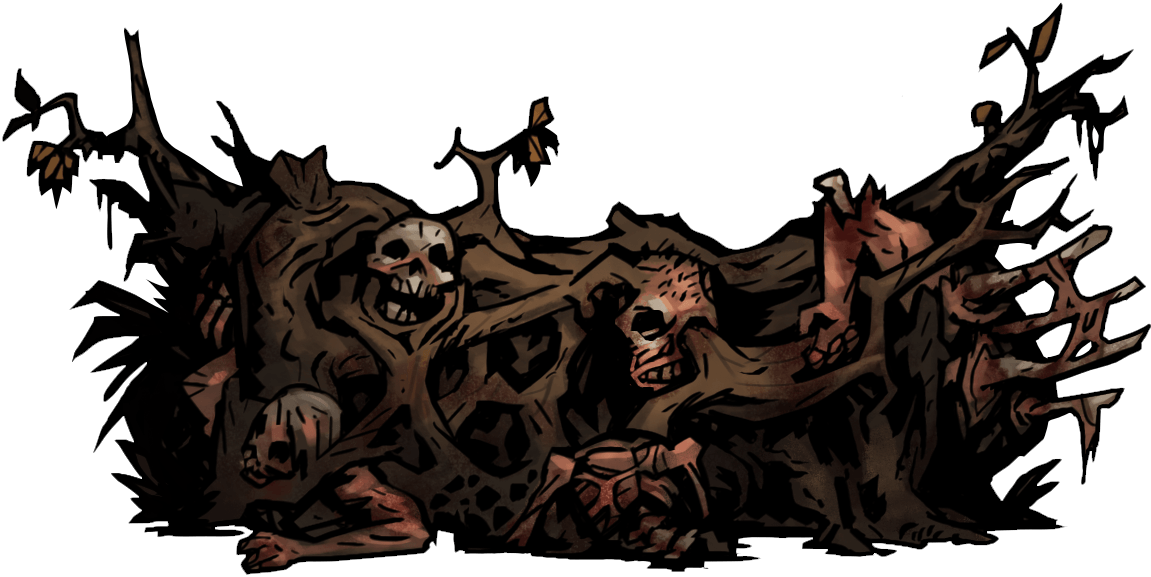
 Small Pew | 25 | 0% | 0% | 0 | Carpentry |
| None |
 Medium Pew | 40 | 0% | 0% | 0 | Carpentry |
| None |
 Large Pew | 55 | 0% | 0% | 0 | Carpentry |
| None |
Swine Prince | 132 | 0% | 0% | 0 | Beast |
| Obliterate Body |
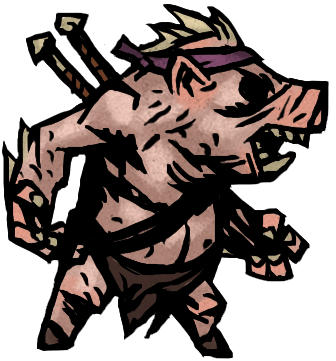 Wilbur | 17 | 15% | 0% | 20 | Beast |
| Bit 'o Squeal |
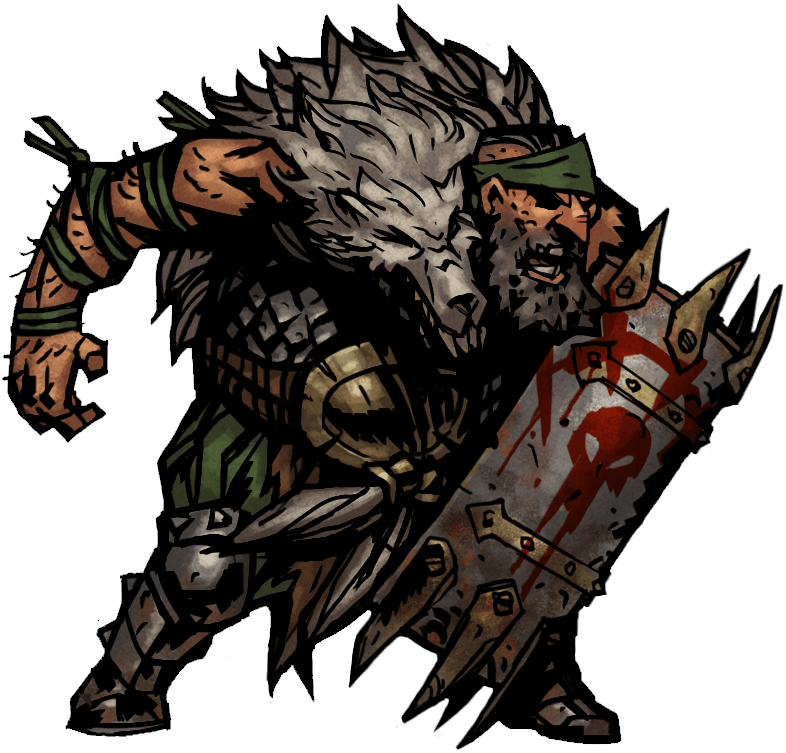 Brigand Vvulf | 160 | 25% | 0% | 4 | HUMAN |
| Bombs Away |
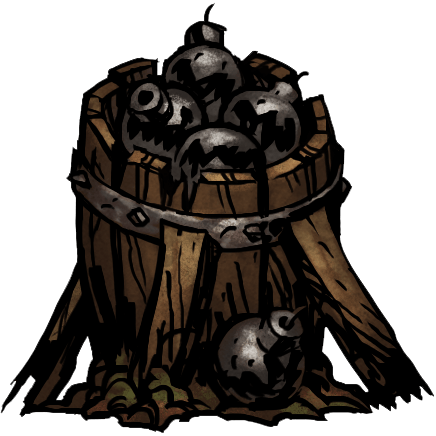 Barrel O' Bombs | 25 | 0% | 0% | 0 | CARPENTRY |
| None, but always has Riposte |
 Shrieker | 75 | 40% | 0% | 7 | ELDRITCH BEAST |
| Peck |
 Shrieker's Nest | 60 | 0% | 0% | 0 | THATCHERY |
| None |
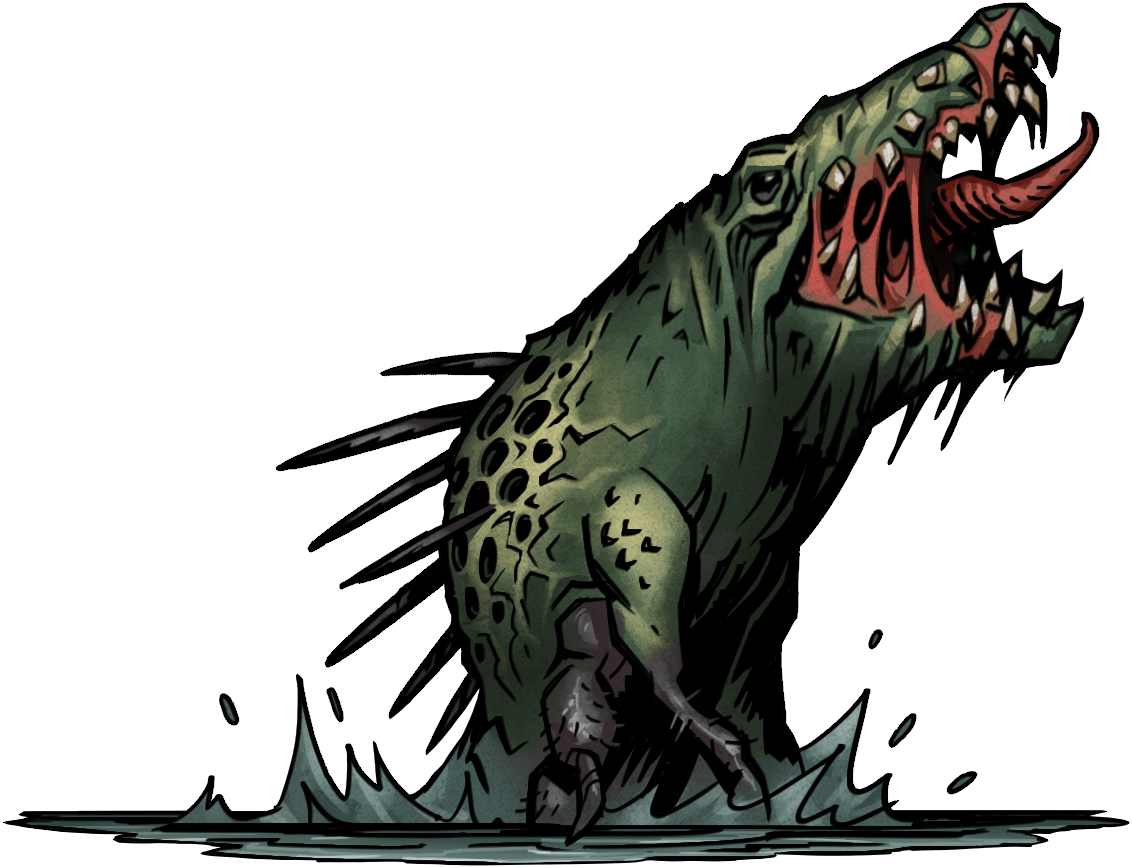 Crocodilian | 118 | 10 | 10 | 7 | BLOODSUCKER |
| Swarming Corruption |
 Bulrush | 100 | 200 | 80% | 0 | VEGETATION |
| None. |
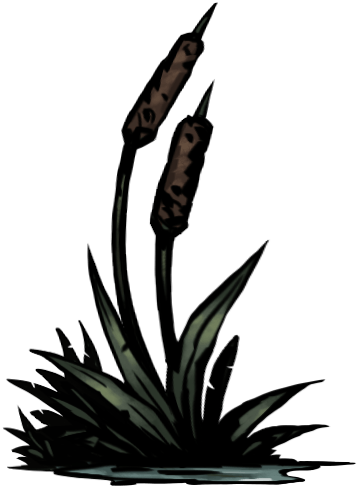 Cattail | 100 | 200 | 80% | 0 | VEGETATION |
| None. |
Curios
| Location | Curio | Item | Chance | Result | DescriptionEdit | |
|---|---|---|---|---|---|---|
| Farmstead | Curio Room | 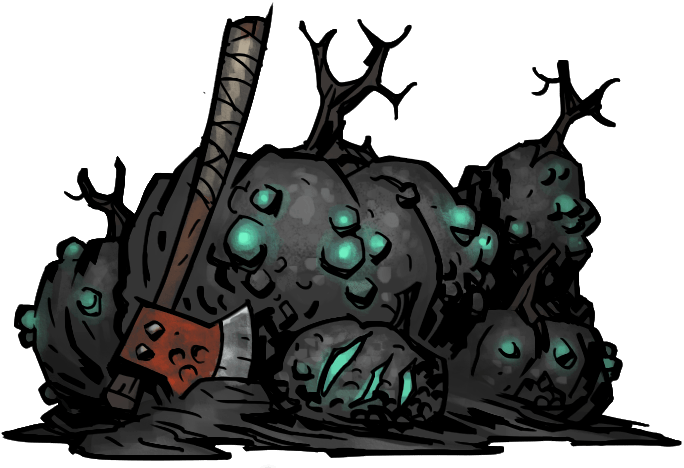 Corrupted Harvest Take up the axe. Blow off some steam. | 100.0% | |||
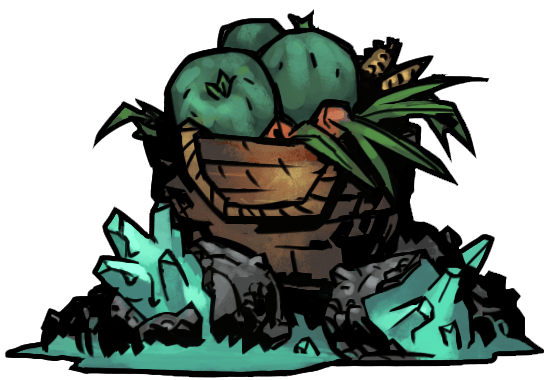 Fresh Harvest Tantalizing provisions to renew a body. | 100.0% | |||||
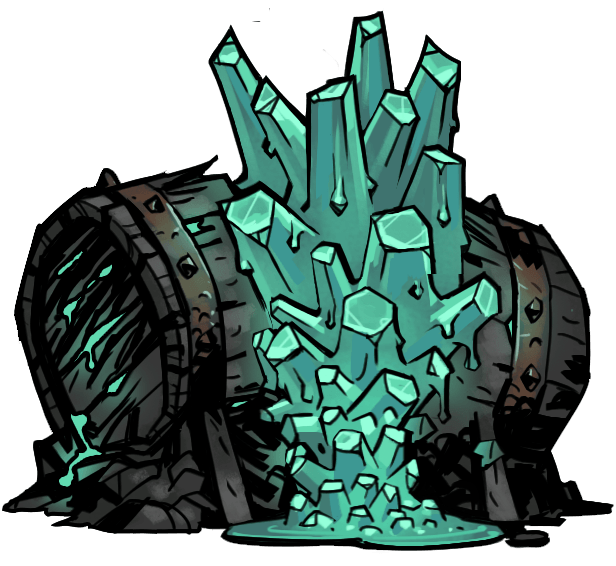 Gleaming Shards Glittering crystals spill onto the ground. | 100.0% | |||||
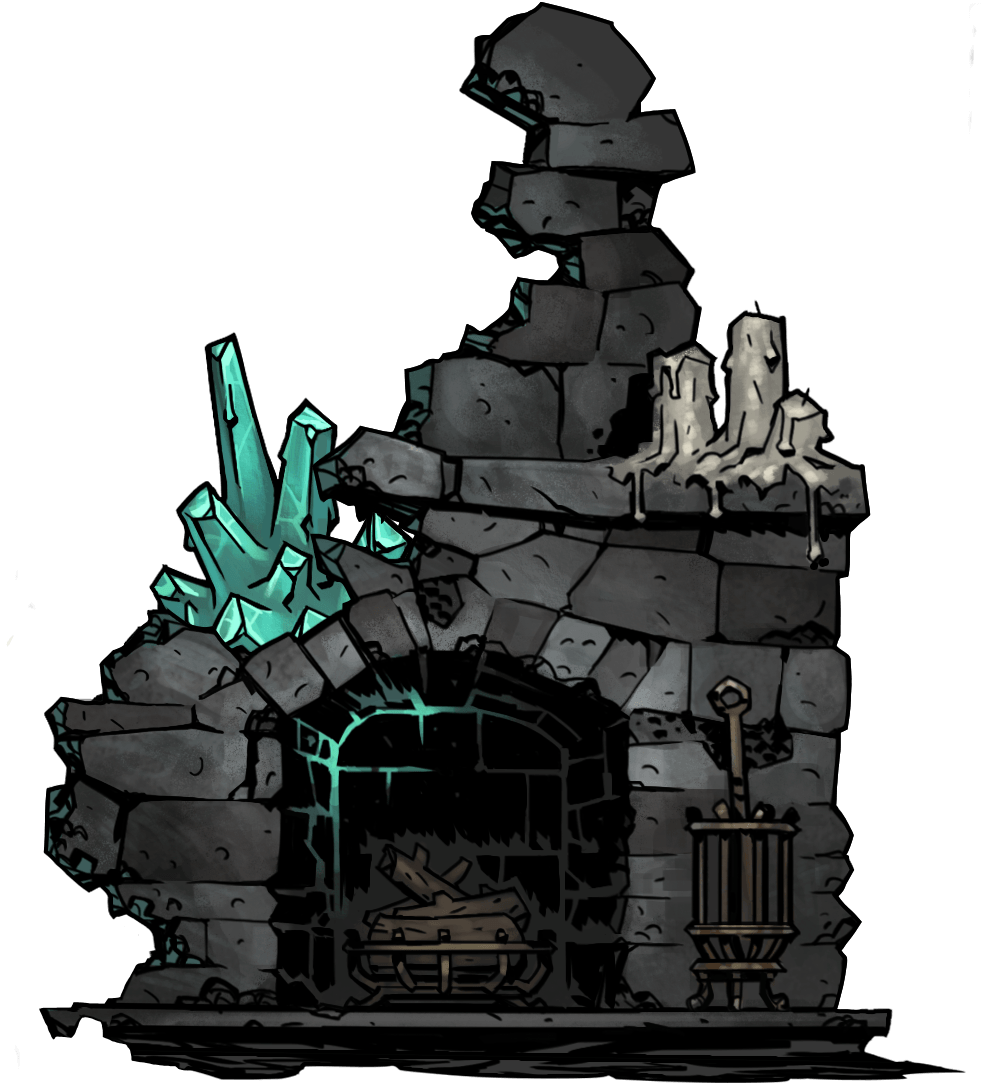 Miller's Hearth The fireplace is slowly coming apart but looks functional. | 100.0% | |||||
 Plentiful Bounty Tantalizing provisions to renew our energies. | 100.0% | |||||
 Rotted Fare Take up the hatchet. Blow off some steam. | 100.0% | |||||
 Stockpile Useful supplies for this harrowing journey. | 100.0% | Opens a hidden compartment! | ||||
| 66.7% | ||||||
| 33.3% | ||||||
 Mildred This anguished creature does not seem hostile, yet. | 100.0% | Any Trinket/Shards (Subsequent encounters) | ||||
Strategy
Party composition depends on the overall goal of the expedition. If the goal is merely to kill The Sleeper to farm Memories, then many easily accessible compositions will work. However, surviving beyond 1000 kills will require more planning.
It is not recommended to bring heroes that depend on limited-use skills, most notably the Exclusive to The Crimson Court DLCFlagellant.
A commonly used beginner party is Vestal / Jester / Shieldbreaker / Shieldbreaker, though this has many weaknesses and is not recommended for long expeditions. In most cases the Vestal and Jester can out-heal any damage and stress suffered, but the party is weak to certain kinds of disruption (for example, shuffle), and the heroes have low health, low damage, and few ways to mitigate enemy actions (using ![]() Stun, for example).
Stun, for example).
A safer and more efficient composition is Arbalest / Jester / Houndmaster / Occultist. This video demonstrates the party's effectiveness during the Veteran Miller expedition, as well as generally effective tactics for the Farmstead:
- Raw damage is somewhat less important than disabling enemies, or reducing their effectiveness with
 Stuns,
  Debuffs, and DODGE.
 - Generally only one priority enemy is killed per round to reduce the number of reinforcements and Crystalline Aberrations. The main exception is when near the kill limit, it becomes better to rush kills and quickly end the wave.
- Critical Hits and

 damage over time are used to prevent corpses. Also, an enemy that is killed on a round when reinforcements spawn will not spawn an aberration.
 - Two weak enemies are kept alive, and repeatedly Stunned and Debuffed.
- Once enemies are sufficiently weakened, remaining actions are used to heal damage and stress.
Long Expeditions
By far the most demonstrably successful party compositions are Antiquarian / Man-at-Arms parties that heavily boost DODGE. The following have survived tens of thousands of kills in the Endless Harvest:
- TheRealMe's "Immortal Plague Doctor" team: Plague Doctor / Antiquarian / Crusader / Man-at-Arms
- ThickVeinySausage's team, which inspired the above: Antiquarian / Houndmaster / Occultist / Man-at-Arms
See the links for more information about tactics and trinket choices.
The most useful provisions for longer expeditions are Food, which is required for Camping at the Miller's Hearth, and Skeleton Keys, which can be used to get more supplies from the Stockpile. Most other combat items are useful. There is no need to bring Torches or Shovels.
![]() Disease is a major problem on longer expeditions, and camping skills that remove disease become especially useful.
Disease is a major problem on longer expeditions, and camping skills that remove disease become especially useful.
Skill Swapping
It is possible to swap skills at the beginning of a Farmstead battle by opening the character screen when entering a room: see this page for a demonstration. Using this trick, is possible to determine the boss or dungeon based on the Ancestor's narration and screen background, so skills can be selected to counter the specific battle.
| view The Estate | |
|---|---|
| Hub | Hamlet |
| Dungeons | Old Road |
| DLC Locations | Exclusive to The Crimson Court DLC Courtyard |