| Darkest Level | |||||||||
|---|---|---|---|---|---|---|---|---|---|
| Skill Name | Range | Rank | Target | Accuracy | Crit Chance | Damage | Effect (Target) | Effect (Self) | Notes |
| Flushed | Support | 1, 2, 3, 4 | Self | Cure | |||||
| Disrobe | Melee | 1, 2, 3, 4 | 1, 2, 3, 4 | 115% | 10% | 8-16 | |||
| Sway With Me | Ranged | 1, 2, 3, 4 | 1+2+3+4 | 115% | 0% | 4-4 | Stress +25 | ||
| Love Letter | Melee | 1, 2, 3, 4 | 1, 2, 3, 4 | 120% | 15% | 6-10 | Injects a Parasite Egg | Lose 10 HP | |
courtyard · dungeon
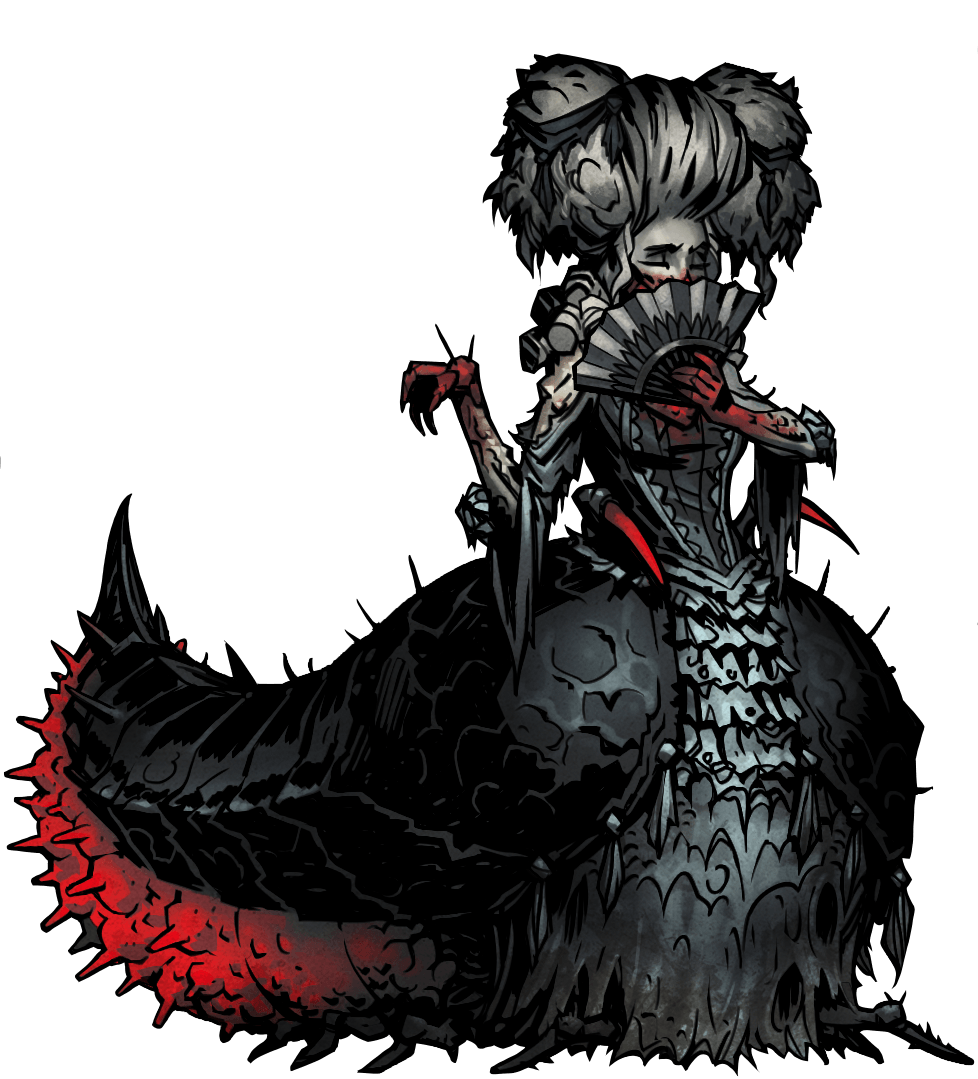
Countess
The Countess is the third and the final boss of The Courtyard fought during the "Bewitching Predator" (LVL 6 Epic) quest. An insectoid vampiress, she is the source of the Crimson Curse, as her corrupting blood was spread around the Courtyard's guests by the Ancestor's machinations, following her murder by his hands. Her coming back to life triggers the events of the {{CC-DLC|-}}.
Some sections (behavior, strategy) are missing from the source wiki — content may be incomplete.
Resistances
| Variant | Stun | Blight | Bleed | Debuff | Move |
|---|---|---|---|---|---|
| A | 140% | 110% | 90% | 120% | 220% |
Immune ≥100% Resistant 60–99% Normal 30–59% Vulnerable <30%
Stats by difficulty
| Stat | A | B |
|---|---|---|
| HP | 400 | 480 |
| Dodge | 25 | — |
| Protection | 30% | — |
| Speed | 4 | — |
Team recommendations
✓ Preferred
◆ Reasonable
Preferred Heroes
- Vestal - Reliable healing to keep up with the boss's heavily damaging attacks. Be careful if she gets shuffled to the forefront.
- Shieldbreaker - Counters Stumble with her attacks, and bypasses the high PROT on both Thirsty and Bloodlust forms. Use Snake Eyes when camping to let the party gain some armor piercing too.
- Man-at-Arms - Open with Bolster to raise DODGE and reduce Stress. Can Stun the Countess with a good use of Rampart. Be careful if he's shuffled to the rear as he can't attack from there. If you can camp before the fight, he can buff your team's dodge by 10 with Tactics.
- Flagellant - Massive healing and self-heal works great for the long fight. Since the Countess takes up all four positions, you can do without Rain of Sorrows to have space for both Exsanguinate and Redeem. Can easily recover from being shuffled to the back.
- Plague Doctor - Access to a lot of DoTs to wear down the Countess, and can cure the strong Bleeds and Blights abound. If the opportunity arises, land a good Stun while the Countess is Flushed. Be careful if she's shuffled out of position.
- Hellion - Adrenaline Rush can purge off whatever DoTs that stick on her, and she can put out good Bleeds with Bleed Out or If It Bleeds. She gets hindered severely by Stumble if you plan to use Bleed Out, though.
- Antiquarian - Invigorating Vapours are a really good source of dodge for this fight, since dodging attacks means you won't have to deal with the eggs. She isn't very good at offense, but you can still let her be a support and make someone else deal damage.
Reasonable Choices
- Jester - Battle Ballad can help on the offensive side, and Dirk Stab counters unfortunate shuffles. Struggles a little with raw damage or survival.
- Highwayman - Duelist's Advance can offset being Stumbled, but bear in mind that a lot of the Countess's attacks will not provoke Riposte.
- Occultist - Wyrd Reconstruction can still be used regardless of where he's been shuffled to, although it can be unreliable if it rolls poorly. Hands of the Abyss is a powerful Stun for the Flushed form. Mind that debuffs wear off her very quickly.
- Grave Robber - Pick to the Face! can penetrate her PROT, and Lunge or Shadow Fade can reposition her when Stumbling.
- Houndmaster - While his bleeds are weak, he can raise his high DODGE while Guarding. Blackjack can get a good Stun for the Flushed form, Cry Havoc can keep the party sane if he's shuffled to the back and Target Whistle is a pretty strong mark that can help out marked teams.
- Bounty Hunter - Unless he's pushed to the very back, a lot of his attacks are unaffected by Stumble. Use Planned Takedown to increase his damage output, and have Uppercut or Flashbang to Stun. Do be aware that marks and debuffs will run out quickly, so make sure to have a consistent marker.
Discouraged Heroes
Abilities
| Darkest Level | |||||||||
|---|---|---|---|---|---|---|---|---|---|
| Skill Name | Range | Rank | Target | Accuracy | Crit Chance | Damage | Effect (Target) | Effect (Self) | Notes |
| Momentary Overexertion | Ranged | 1, 2, 3, 4 | Self | 0% | 0% | 0 | |||
| Metamorphosis | Ranged | 1, 2, 3, 4 | 1+2+3+4 | 0% | 0% | 0 | Cure | ||
| Darkest Level | |||||||||
|---|---|---|---|---|---|---|---|---|---|
| Skill Name | Range | Rank | Target | Accuracy | Crit Chance | Damage | Effect (Target) | Effect (Self) | Notes |
| Indecent Proposal | Melee | 1, 2, 3, 4 | 1+2+3+4 | 115% | 3% | 3-13, (-45% DMG vs Rank 4, -30% DMG vs Rank 3, -15% DMG vs Rank 2) | |||
| Courtship Renewed | Support | 1, 2, 3, 4 | Self | ||||||
| Disrobe | Melee | 1, 2, 3, 4 | 1, 2, 3, 4 | 110% | 15% | 10-14 | |||
| The Thirst | Melee | 1, 2, 3, 4 | 1, 2, 3, 4 | 110% | 2% | 7-17 | |||
| Throes of Ecstasy | Ranged | 1, 2, 3, 4 | 3, 4, 33% +1 Target | 118% | 5% | 2-4 | |||
Trophy
| Image | Name | Rarity | Dungeon | Effect | Notes |
|---|---|---|---|---|---|
 | Crimson CourtCountess' Fan | Trophy | Courtyard |
| Quest Reward for "A Bewitching Predator" |